


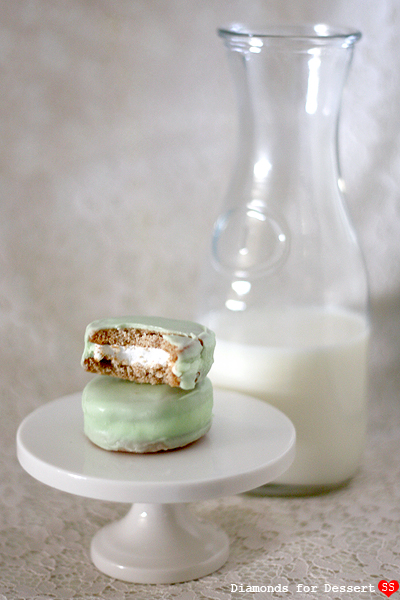
For now, let's talk Moon Pies. If you've never had one, a Moon Pie is made up of two graham cookies sandwiched around a marshmallow filling, dipped in chocolate. Sort of like a s'more, but not. I remember eating Moon Pies a few times as a child, but only once in a blue moon because they were so hard to find.

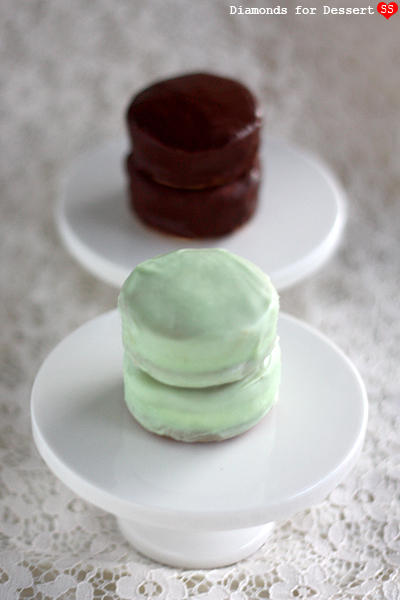
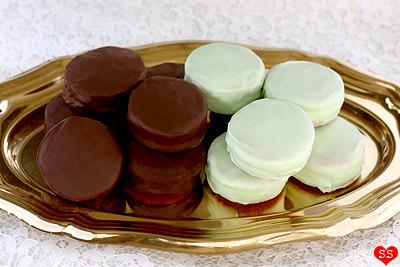
Moon Pies also come dipped in other coatings like orange and banana, so rather than just the original chocolate, I thought I'd also include a different flavor. If you've been following my blog, you probably know that I adore the combination of mint and chocolate (ex. Mint Chocolate Chip Truffles & Grasshopper Tart), so what better other flavor to include than mint? Plus, the mint color is lovely.
This is a great recipe to experiment with. Try using different extracts/liquids for the marshmallow filling and flavor/color the coating differently (maybe orange or lemon?). Definitely try this out. Not only are these Mini Moon Pies cute to look at, they're pretty darn tasty; they were the first dessert to go from our buffet.
P.S. If you choose to make mint and chocolate coated mini moon pies, don't throw away the extra coating! Use it to make homemade Andes chocolates (recipe at the very bottom of this post).

Mini Moon Pies
adapted from Confections of a Foodie Bride
Graham Cookie
1 cup (2 sticks) butter, room temperature
1/2 cup powdered sugar
1 cup flour
1 1/2 cups whole wheat or graham flour
1/4 tsp salt
1/2 tsp baking powder
1 tsp vanilla extract
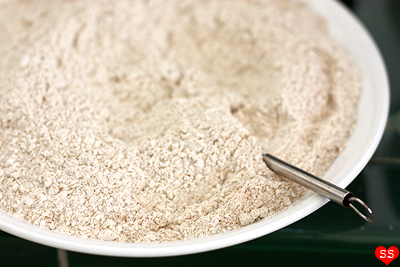
Mix the dry ingredients: flour, whole wheat (or graham) flour, salt, and baking powder, and set aside for now.
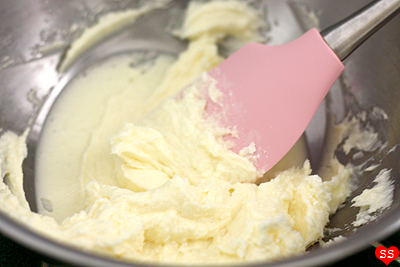
Cream the butter with the powdered sugar. Add the vanilla extract.
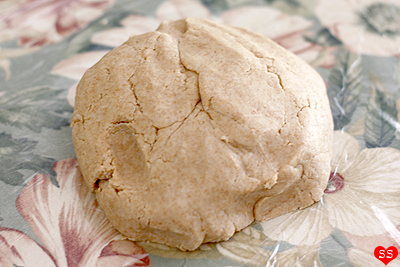
Combine the butter mixture with the dry ingredients until a dough forms. Gather the dough, wrap it in plastic wrap, and refrigerate for 30 minutes.
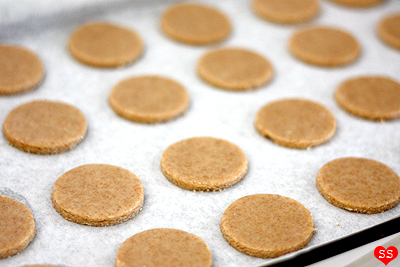
Preheat oven to 350°F. Once chilled, roll out the dough to 1/8" thick. Cut out circles with a small round cookie cutter. Place cut-outs on a parchment lined baking sheet.

Bake cookies 10-12 minutes, until golden. Cool on baking sheet for a few minutes, then transfer to a wire rack to finish cooling.
Marshmallow Filling
1 tbsp unflavored gelatin
1/3 cup cold water
1 cup sugar
2/3 cup light corn syrup
1/8 tsp salt
1/3 cup cold water
Pour 1/3 cup cold water into the bowl of a standing mixer. Sprinkle with the unflavored gelatin and set aside for now. In a medium saucepan, mix the sugar, corn syrup, salt, and 1/3 cup cold water. Heat over med heat, stirring constantly until the temperature reaches 234°F (it should now be a clear syrup).
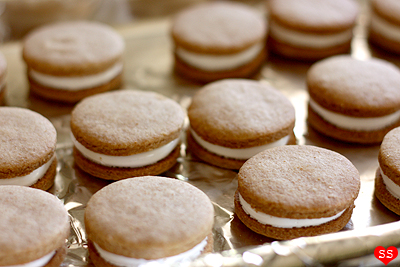
Turn on the standing mixer to low and slowly pour in the hot syrup in a thin stream. Once all the syrup is poured in, turn the mixer to high and let it run 15-20 minutes, until the filling is white, thickened, and cooled to room temperature. Scrape the filling into a large ziplock bag. Cut off a corner of the bag and use it to pipe the filling onto half of the cookies.
Place the cookies in the refrigerator for 10 minutes for the filling to set. Top with the other cookies. Keep cookies chilled until ready to coat, or serve them at this point as "Naked Moon Pies".
Chocolate Coating
8 oz semisweet chocolate, chopped
1 tbsp shortening
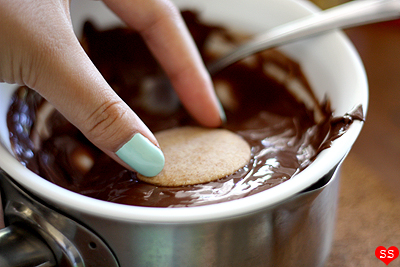
Melt the chocolate and shortening in the microwave at 50% power for 1 minute. Stir. Continue melting at 30 second intervals at 50% power until all melted. Dip the top and sides of each moon pie in the melted chocolate. Shake off excess chocolate and place on a wire rack (with a baking sheet underneath to catch any drips).
To get the tops of each moon pie smooth, after the cookie's placed on the wire rack, place a small piece of wax or parchment paper over the top of the moon pie, smooth out the paper. After a few minutes, pull off the wax paper and the top should be smooth. Once all the moon pies are dipped, place the rack in the refrigerator for 10 minutes, or until chocolate is set.
NOTE: If it's hot out, like during the summer, keep cookies in refrigerator until ready to serve to prevent the chocolate from melting. Serve at room temperature.
Or...
Mint Coating
8 oz white chocolate, chopped
1 tbsp shortening
1 tsp mint extract, or to taste
green oil-based candy coloring

Melt the white chocolate and shortening in the microwave at 50% power for 1 minute. Stir. Continue melting at 30 second intervals at 50% power until all melted. Add the mint extract, use more or less to taste. Mix in a bit of green candy coloring until the white chocolate is mint colored. Dip the top and sides of each moon pie in the melted chocolate. Shake off excess chocolate and place on a wire rack (with a baking sheet underneath to catch any drips).
To get the tops of each moon pie smooth, after the cookie's placed on the wire rack, place a small piece of wax or parchment paper over the top of the moon pie, smooth out the paper. After a few minutes, pull off the wax paper and the top should be smooth. Once all the moon pies are dipped, place the rack in the refrigerator for 10 minutes, or until chocolate is set.
NOTE: If it's hot out, like during the summer, keep cookies in refrigerator until ready to serve to prevent the chocolate from melting. Serve at room temperature.
Makes ~30 mini moon pies.
Homemade Andes Candy
leftover chocolate coating
leftover mint coating
mint extract
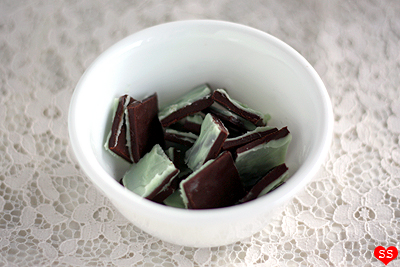
Add a bit of mint extract to the leftover chocolate coating, to taste. Spread the coating over a sheet of parchment paper in a thin layer, about 1/8" thick. Place in the refrigerator for 10 minutes until set.
Cover the chocolate layer with a thin layer of the leftover mint coating. Keep at room temperature and once the mint coating is partially set, use a knife to cut up the candy into little squares. Place the candy in the refrigerator to set completely.
NOTE: If it's hot out, like during the summer, keep candy in refrigerator to prevent the chocolate from melting.

wow! you made everything from scratch too, awesome!!
ReplyDeleteI've always wanted to try to make moon pies. Now I need to try a chevron nail!
ReplyDeleteThese are adorable and I want one now - beautiful photos by the way!
ReplyDeleteit's really lovely!
ReplyDeleteWow, these sound amazing. As I live in the UK we don't get Graham cracker or cookies here and I've heard a lot about them so I'm desperate to try one. I'm so glad you included the recipe for them so that I can try them. I'm so excited to make both the mint and chocolate ones. I might even use strawberry melts and make some strawberry flavoured ones too. Thanks for sharing.
ReplyDelete-Lisa.
Sweet 2 Eat Baking
Can I use marshmallow fluff for the filling?
ReplyDeleteThey're so adorable! I don't know if i've ever had moon pies..looks like something I'd enjoy.
ReplyDeleteHomemade moon pies are so adorable! I am so used to the storebought ones that I forget that they are easy to make. I love your creative presentation.
ReplyDeleteMyfudo here...Normally we'd never put a shameless plug back to us, but we just launched our new site and we would love for you to be a part of it. I'd love to share our newest launch with you, I hope you don't mind? Now that we are getting a new look...Myfudo is moving to a new domain http://www.yumgoggle.com This has been a project we have been working on for almost a year now. We just launched our new gallery submission site, and we are just thrilled. We’d be proud to have your work as part of our growing collection to continue to have a larger reach and further inspire all fellow food lovers out there! Please sign up and check us out (it's free) http://www.yumgoggle.com/gallery
We look forward to seeing your wonderful pictures, as always.
p.s. We are hosting a Kitchen Aid Mixer Giveaway to celebrate our new Yumgoggle site, we hope you'll participate =)
http://www.yumgoggle.com/cakes-cupcakes-the-black-forest-cake-cupcake-a-kitchenaid-mixer-giveaway/
WOW! Those look amazingly cute and yummie. I just stumbeled upon you blog and LOVE it. I'm a new happy follower. I hope you'll like to check out my blog.
ReplyDeleteCheers!
JOhanna
Hi, I love your site and recipes but I was wondering if it's possible to include printer-friendly versions of your recipes? Sorry if this already exists, but I haven't found it yet =)
ReplyDeleteOh my word, these look fantastical!! I love your nails too!
ReplyDeleteI love this post and I will definitely make these. I am from Tennessee and I work for the company that makes the cartons for the moon pies. I don't know if you know it but the moon pies are made in Chattanooga TN. Of course we have moon pies all over TN but I don't eat them, I used too when I was younger but now I am into all natural and home made foods. I see that you are from California, I actually thought moon pies were everywhere! Thanks for sharing the recipe and have a great day.
ReplyDeleteYou are a star!!!! Thanks so much for this recipe and for including a step by step instruction. I live in Australia although I am from SC originally. I grew up eating Moon Pies and everytime I go home for a visit I eat myself sick on them. I am so glad that I can finally try to make them myself Down Under. So many of my friends ask what my favourite food from home is an I always say Moon Pies which of course gets a big laugh. Now I have a way to put my Moon Pie where my mouth is...no pun intended.
ReplyDeleteWow, those moon pies are adorable! I have a page full of adorable artistic dessert ideas for every occasion and season. Come get some cute ideas from me and like my page while you're there, please! https://www.facebook.com/pages/Art-Tastic-Desserts/353119014809667#!/pages/Art-Tastic-Desserts/353119014809667
ReplyDeleteI made these for a BBQ and they were SCRUMPTIOUS. The graham cookies turned out perfectly. I couldn't find any corn syrup so I used glucose syrup instead. I don't have a standing mixer so I mixed it with a hand held blender...for the full 20 minutes..and the result was awesome! Perfect marshmallowyness. I had been a bit concerned because the syrupy stuff didn't go quite clear but I figured it was due to the thicker glucose syrup. When I added the pepermint essence the chocolate siezed up a tad but with a dash more shortening and mixing I got it right. I gave each pie a couple extra coats of chocolate coz it kept getting messy, but they turned out beautifully after going in and out of the fridge to set between coats. Thankyou for the awesome recipe!
ReplyDeleteYour moon pies look awesome
ReplyDelete