


So, the Mid-Autumn Festival (中秋節) was yesterday, which meant mooncakes! What typically comes to mind when thinking about mooncakes are those brown, tender-crusted pastries stamped with intricate designs and words of good fortune, basically Cantonese-style mooncakes. Two years ago, I made that type of mooncake from scratch, but truth be told, it was a pain in the butt (and that's coming from me, someone who enjoys challenging recipes). I prefer buying them from an Asian bakery since they're so widely available. So instead, today, I'm going to blog about a different type of mooncake, one that's less time consuming to make, but equally delicious.


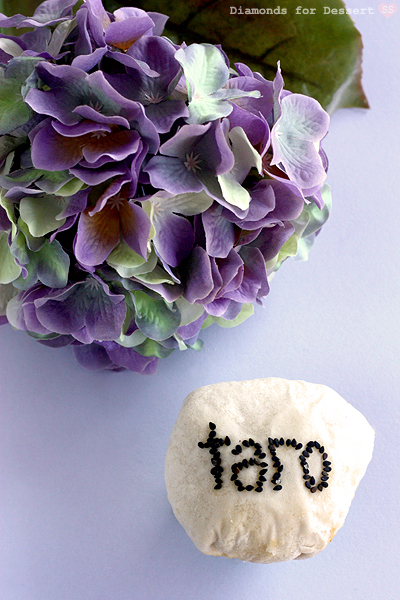
Every year, my mom makes Taiwanese-style mooncakes for the Mid-Autumn Festival. They are pale and flaky and are less widely available, because unlike Cantonese mooncakes which need to age for optimal texture, Taiwanese mooncakes taste best fresh from the oven. The traditional filling for these is a mix of mung bean paste and ground pork, which creates a wonderful savory and sweet filling. For a purely sweet dessert, the meat can be left out or the mooncakes are filled with taro paste, as done here. Any way, they're all very tasty, so if you want a change from the typical mooncake, try these out.


Flaky Taro Mooncakes
adapted from Chinese Snacks
Taro Filling
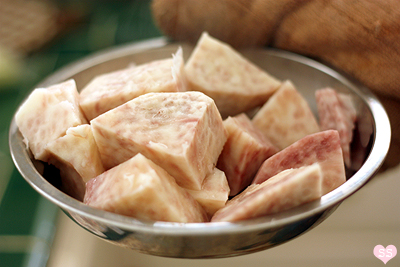
1 lb taro, peeled and cubed
1/2 cup sugar
pinch of salt
Outer Dough
2 cups flour
1/4 cup shortening
1/2 cup water
1/2 tablespoon sugar
1/4 teaspoon salt
Powder Dough
1 cup flour
1/4 cup shortening
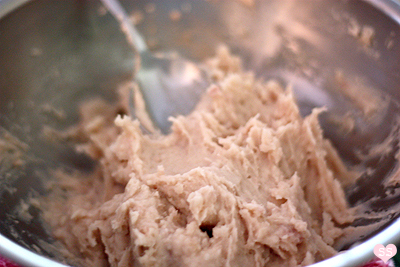
For the filling, steam the cubed taro until soft and mash with a fork. Let cool. Add the sugar and salt and mix. Cover and set aside for now.
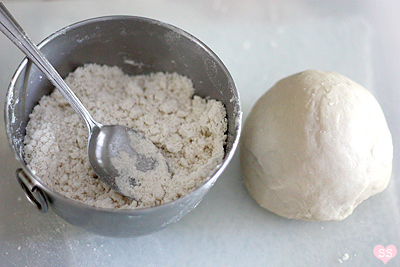
For the outer dough (right), mix the flour and salt together. Blend in the shortening. Then add the dough and knead till a smooth dough forms. Split the dough into 20 pieces and roll each into a ball. Cover for now. For the powder dough (left), mix the shortening into the flour.
Assembly

Take an outer dough ball (keep the others covered so they don't dry out) and form it into a bowl shape. Spoon in about a tablespoon of the powder dough and pinch the outer dough to wrap around all the powder and make sure to seal it very tightly (more well-sealed than picture 3 above). Flip the sealed dough over so the seal faces the table. Take a rolling pin and roll out the dough vertically only so you get a piece of dough that is taller than wide. From the dough edge pointing at you, tightly roll up the dough.

Flatten the rolled up dough. Then turn it so the shorter edge faces towards and away from you while the longer edges point left and right. Take the rolling pin and roll the dough vertically so the dough strip gets even longer. Then from the dough edge pointing towards you, roll up the dough again. Now flatten the coiled dough.

Roll out the flattened dough coil to form a thin, round sheet of dough 4 inches in diameter. Place 2 tablespoons of the cooled taro filling in the center of the dough circle. Gather the edges of the dough together and seal the last bit of dough by moistening it with a bit of water. Make sure the pastry is properly sealed or else the filling will leak out while baking. Then flatten the pastry with your hand and place it on a parchment lined baking sheet, seam side down. Preheat the oven to 350°F and while waiting, decorate the mooncakes in one of the two methods below. Bake them for 20 minutes, let cool a bit, and serve.
Decoration Method 1
black sesame seeds
1 egg
1-2 teaspoons water
toothpicks

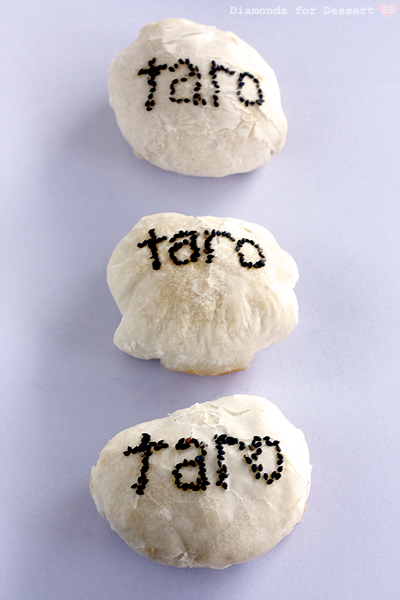
This is the more difficult method, but personally, I like the result better. Crack the egg in a bowl and mix in the water to create an egg wash. Dip a toothpick in the egg wash and use it to trace out "taro" in egg on your mooncake. Take a handful of black sesame seeds and sprinkle them on the top of the mooncake, making sure to cover all the letters traced out. Flip the mooncake and shake it to get rid of the extra sesame seeds. Then take a clean toothpick to help neaten the letters and get rid of any more extra seeds. Repeat with other cakes.
Decoration Method 2
red food coloring
a few drops of water
5 disposable chopsticks
rubber band
bit of paper towel

Mix the red food coloring with a few drops of water. Then soak the bit of paper towel in the dye; it will act as an ink pad. Take your five chopsticks and rubber band the round ends together to form a five petaled flower. Now press this "stamp" on the dyed paper towel and then stamp it on your mooncake as many times as you choose. Repeat with the other mooncakes and then bake.
Makes 20 mooncakes.
I'd never heard of mooncakes before reading this post - yours are so incredibly pretty! Will have to make it my mission to find a shop in London so I can try them soon (I feel like I need to taste the real deal before trying to make them, otherwise I won't know how they should taste!)
ReplyDeletethelittleloaf: Thanks! I totally agree with you. I tend to be reluctant to make something without having tasted it before because I want to make it as authentic as possible. Mooncakes are most abundant a week or two before the Mid-Autumn festival and should be easily found in any Chinatown.
ReplyDeleteSo happy I came across your blog! Everything is so sweet. Can't wait to try your recipes soon! :)
ReplyDeletetoday I discovered your blog... and fell in love... I just wanted to tell you I mentioned you and linked back hoping this will bring you even more thankful readers. Greetings from Mexico!
ReplyDeleteClau
http:handmadeconamor.blogspot.com
camelia: Thanks! I will check it out.
ReplyDeletelittle random happiness: Welcome! I hope you do try out some recipes :).
Claudia: Welcome to the blog! Thanks for the linking!
Cute little one! I will definitely make this kind of mooncakes and write my child's name on it and of course my wife also.
ReplyDeletedesserts lover: That sounds adorable!
ReplyDeletehi there! just came across your blog, its fab - love this recipe, please check out my new blog if you get a min http://fourteaspoons.blogspot.com/ :)
ReplyDelete